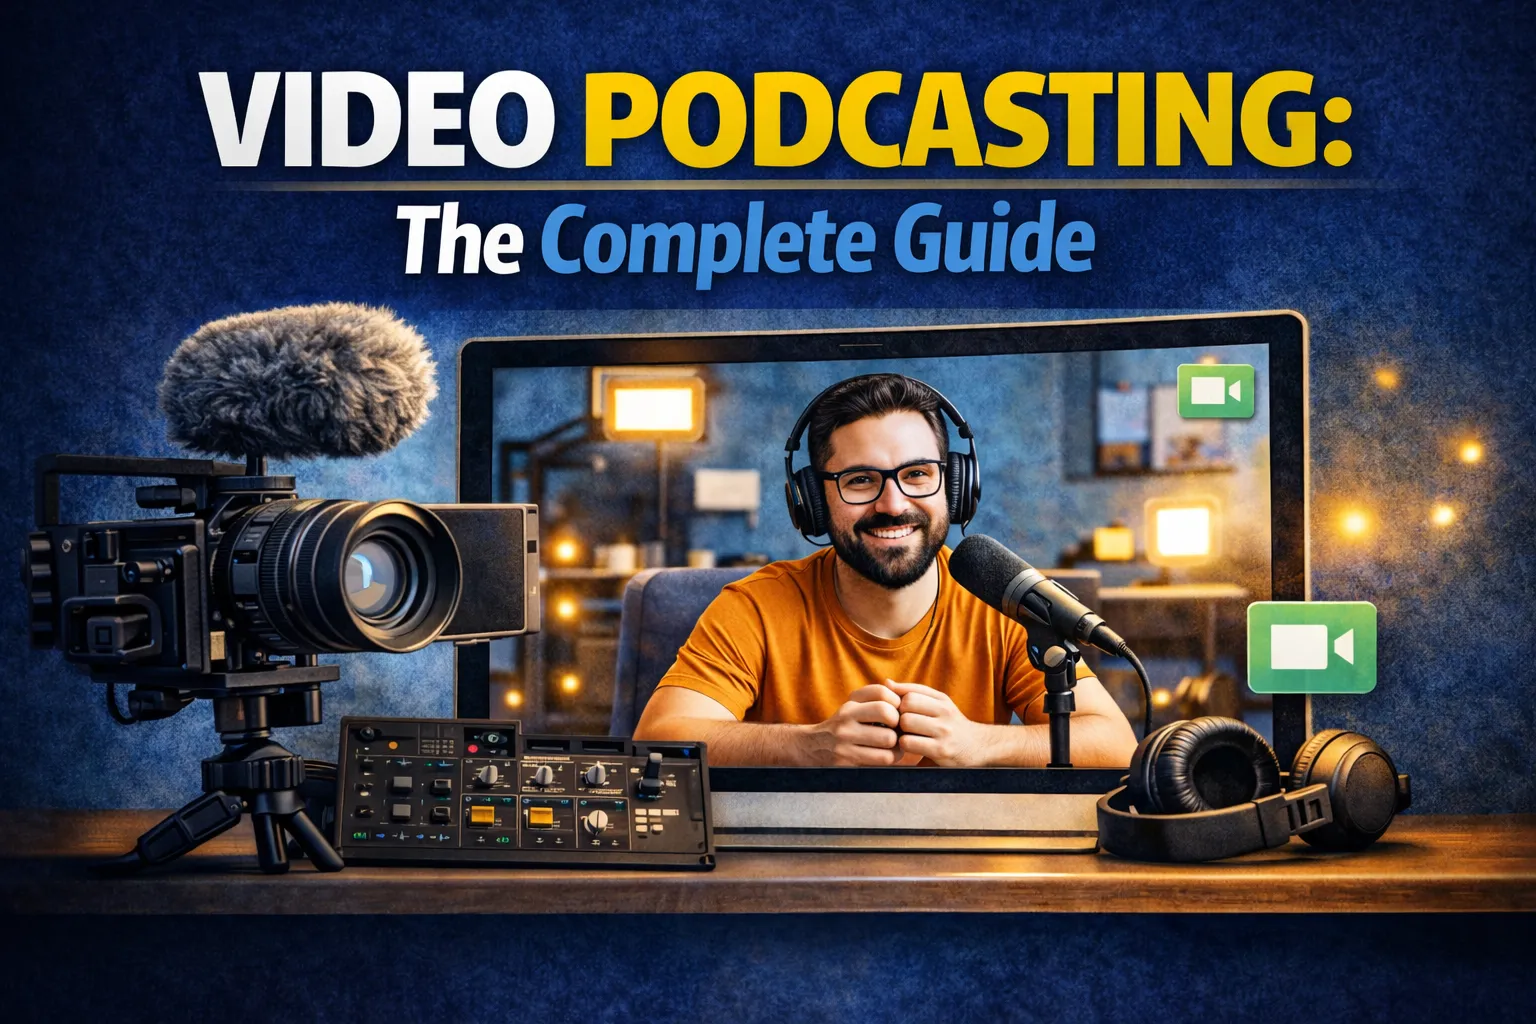
Video Podcasting: The Complete Guide to Adding Video to Your Show
Video podcasting has exploded in popularity. Audiences increasingly expect to see the people behind their favorite shows, and platforms like YouTube have become a primary discovery channel for podcasts. Whether you are launching a brand-new video podcast or adding a visual layer to your existing audio show, this guide walks you through everything you need to know.
Adding video to your podcast does not have to be complicated or expensive. With the right equipment, a basic recording setup, and a solid post-production workflow, you can produce professional-looking video episodes that grow your audience across multiple platforms.
Why Video Podcasting Matters
The podcasting landscape has shifted dramatically. YouTube is now the number one platform where people discover new podcasts, surpassing Apple Podcasts and Spotify in discovery. Listeners want to connect with hosts on a deeper level, and video enables that connection through facial expressions, body language, and visual demonstrations.
Here is why video deserves your attention right now:
- Massively expanded reach. YouTube has over 2 billion monthly users. Publishing video versions of your episodes exposes your show to an entirely new audience that may never browse a podcast app.
- Higher engagement. Video content receives more comments, shares, and watch time than audio alone. Viewers feel a stronger personal connection when they see who they are listening to.
- More monetization opportunities. Video unlocks YouTube ad revenue, brand sponsorship deals (which pay more for video), and visual product placements. Learn more about podcast monetization strategies.
- Clip-friendly format. Short video clips from your episodes make perfect social media content — 30 to 90-second highlight reels perform exceptionally well on Instagram Reels, TikTok, and YouTube Shorts.
If you are serious about growing your podcast, video is no longer optional — it is a strategic advantage.
Equipment You Need
You do not need a Hollywood studio to start video podcasting. Here is the essential gear, broken into three tiers:
Camera
- Budget: Your smartphone or laptop webcam. Modern phones shoot excellent 1080p or 4K video and are a perfectly acceptable starting point.
- Mid-range: A dedicated webcam like the Elgato Facecam or a mirrorless camera (Sony ZV-1, Canon M50) used as a webcam via capture card or USB.
- Pro: A mirrorless or DSLR camera with a wide-angle lens, mounted on a tripod with continuous autofocus enabled.
Lighting
Lighting matters more than camera quality. Even a basic webcam looks professional with proper lighting:
- Natural light: Sit facing a window. Free and effective, though inconsistent throughout the day.
- Ring light: An affordable option ($30–$60) that provides even, flattering illumination directly from the front.
- Key light setup: A single large LED panel positioned at a 45-degree angle from your face. Add a second fill light or bounce card to soften shadows. This is the standard for professional video podcasters.
Audio
Audio quality remains paramount — even in a video podcast, most viewers will tolerate mediocre video before they tolerate bad audio. Use a dedicated podcast microphone rather than relying on your camera's built-in mic. A dynamic USB or XLR microphone positioned 6–8 inches from your mouth will give you broadcast-quality sound. If you are unsure whether you need extra gear, check out our guide on audio interfaces for podcasting.
Recording Setup
Your recording environment significantly impacts the final product. Follow these guidelines for a clean, professional look:
- Background: Keep it intentional. A bookshelf, acoustic panels, or a clean wall with subtle branding works well. Avoid cluttered, distracting backgrounds. Some podcasters use branded backdrops or neon signs with their show logo.
- Camera placement: Position the camera at eye level or slightly above. The lens should be roughly at your forehead height. Never shoot from below — it is unflattering and looks amateurish.
- Framing: Use a medium shot — head and shoulders with some space above. If you have a co-host, ensure both of you are clearly visible and well-lit.
- Acoustic treatment: Video rooms still need sound treatment. Foam panels, heavy curtains, bookshelves, and rugs all reduce echo and reverb.
For remote interviews, both host and guest should follow these principles. Share a brief setup guide with guests before recording — it dramatically improves the final quality. Our remote podcast interview guide covers this in detail.
Software Options
Video recording software falls into two categories: local recording and cloud-based platforms.
- Local recording: OBS Studio (free, open-source) is the gold standard. It records your camera, screen, and audio simultaneously with full control over resolution, bitrate, and layout. It has a learning curve but offers maximum flexibility.
- Cloud-based: Platforms like Riverside and SquadCast record each participant locally and upload high-quality files to the cloud. This solves the biggest problem with remote video — internet-dependent quality. Each person's video is recorded at full resolution regardless of connection speed.
- Simple setups: QuickTime (Mac) or the built-in Camera app (Windows) work for basic single-camera recordings. Zoom and Google Meet can also record video, though quality is lower than dedicated tools.
For solo episodes, OBS Studio or a simple camera app is sufficient. For interviews, a cloud-based recording tool ensures both sides look and sound great.
Editing Video Podcasts
Video editing adds a layer of complexity compared to audio-only production, but modern tools make it manageable:
- DaVinci Resolve (free) — professional-grade editor used in Hollywood. Steep learning curve but incredibly powerful. Great for podcasters who want full control over color grading, transitions, and multi-camera editing.
- CapCut (free) — simple, fast, and excellent for short-form clips. Perfect for creating social media highlight reels from your episodes.
- Adobe Premiere Pro — industry standard with a monthly subscription. Offers excellent multi-track editing, text-based editing, and integration with After Effects for graphics.
- Descript — edit video by editing the transcript text. Delete a sentence from the transcript and it removes that portion from the video. Revolutionary for podcasters who find timeline editing tedious.
Essential video editing tasks include: cutting dead air and filler words, adding intro/outro sequences, inserting lower-third name graphics, and color correcting to ensure consistent look across episodes. Consider using AI-powered tools to automate repetitive editing tasks like silence removal and clip selection.
If your video podcast features guests, review our podcast guest booking guide for tips on creating a smooth remote recording experience.
Publishing on YouTube and Social Media
Once your video episode is edited, you need a distribution strategy. YouTube should be your primary video destination, but do not stop there:
- YouTube: Upload full episodes as standard videos. Optimize your title, description, and tags with relevant keywords (apply the same podcast SEO principles). Create custom thumbnails — they are the single biggest factor in click-through rate. Add timestamps in the description for easy navigation.
- Spotify: Spotify now supports video podcasts natively. Upload through your podcast hosting provider if supported, or directly via Spotify for Podcasters.
- Social media clips: Extract 30–90 second highlight clips and publish on Instagram Reels, TikTok, YouTube Shorts, and LinkedIn. Read more about promoting your podcast on social media. Each clip should have burned-in captions — 85% of social media video is watched without sound.
Maintain a consistent visual brand across all platforms. Use the same colors, fonts, and thumbnail style so viewers recognize your content instantly.
Video vs Audio-Only: Pros and Cons
Video is not right for every podcaster. Here is an honest comparison:
Video Advantages
- Access to YouTube's massive discovery engine
- Deeper audience connection and higher engagement
- More monetization channels (YouTube ads, video sponsorships)
- Endless clip content for social media promotion
- Visual demonstrations for tutorial or educational content
Video Challenges
- Longer production time — recording, editing, and exporting take 2–4x longer
- Equipment investment — camera, lighting, and backdrop costs add up
- Higher storage and bandwidth needs for large video files
- You and guests need to "look presentable," which can feel like a barrier
- Not all podcast genres benefit equally (fiction, meditation, and ambient shows may not gain much from video)
Many successful podcasters run a hybrid approach — they record video for interviews and special episodes, but produce some solo episodes as audio-only. Start with what feels manageable and expand from there.
Repurposing Video Clips
One of the greatest advantages of video podcasting is the ability to create dozens of content pieces from a single episode. From every recorded episode, you can extract:
- Short-form clips (30–90 seconds) for Reels, TikTok, Shorts — focus on the most engaging, surprising, or valuable moments
- Audiograms — animated waveform videos with captions, perfect for platforms where full video is not needed
- GIFs and reaction clips — short looping clips of funny or expressive moments, great for social engagement
- Thumbnail stills — freeze frames from the episode for use in blog posts and newsletters
- Behind-the-scenes content — setup, bloopers, and pre-show banter make great Stories content
For a complete system on maximizing every episode, read our guide on how to repurpose podcast content. The key is building a repeatable workflow so repurposing becomes effortless rather than an afterthought.
Share your episodes on your podcast website alongside detailed show notes to give search engines rich content to index and give listeners a home base for every episode.
Ready to launch your video podcast? Start free with OnPodium — host your audio, build a stunning podcast website, and share your episodes everywhere from one platform.